Showing posts with label DIY. Show all posts

1/02/2011

The High Rise Shelves

What do you do when you check out Ana White's blog and find some amazing shelves that are cheap and easy to build.....
You beg your husband to let you spend your Christmas gift cards at Home Depot and get to work on them =)

I found this awesome shelf plan on her blog just a few days ago and headed straight to the store for supplies. We did alter the size just a bit and added a top shelf that extends all the way across our fireplace.

This project = LOVE


Here it is before we fully assembled it and painted.


BEFORE PICS


Matt touching up with paint where we had to drill through the shelves  


AFTERS

The knick knacks on the shelves probably wont stay there,
we would like to find some colorful pottery the
next time when we are on a cruise.
and I am going to make some things for the very top shelf that extends across the fireplace.
Something tall that will fil up that space better.


View from the top of the stairs.


View as you enter through our front door.


  Matt and I have this and this on our list for our next big project......Baby W's nursery. And this has to be built before his/her arrival for some much needed places for toys and other baby things downstairs.

Check out our 1st project HERE, and our 2nd HERE.

I am posting to Thrifty Decor Chicks Before/After Party

11/06/2010

DIY Scrapbook Vases- Take 2

I made these for my Sister-in-Law's baby shower for her 3rd child and only girl.
You can check out my first round of these HERE.

Gather Materials:
Vases, Jewels, Flowers, Styrofoam, Scrapbook Paper

Cut the styrofoam to fit inside the vase, and add flowers


Add Jewels


Cut the scrapbook paper at a length that will sit just above the jewels and that will go to the top.


Here they are, too cute, huh?


I ended up adding some ribbon and a coordinating button just to girl-i-fy it some more!


I used these as the centerpiece on one of the tables for her shower.

What do you think?

10/26/2010

Shelves: Take 2

Here are some of the special things to Matt and I that can call the shelves their home for now.
Click to Enlarge

 
Photobucket

Scroll Down to see How these shelves were made!

10/24/2010

DIY Floating Shelves

I . FELL . IN . LOVE 
with Young House Love's floating shelves when I saw their dining room. 
And shortly after, they debuted Ana's version of how to build them yourself.
You can read about that HERE!

The total was.......drumroll please.........
$28.00
We had some basic's such as paint, nails, and wood putty.

Of course, my handsome, hard-working husband was eager and excited to build them for me.

Here are a few pics of us in "building mode"


Our Helper!


Here is how the shelf brace and box looked completed

I used the design trick of putting tape up on the wall to mark the length and height of the shelves


Here is the before:


And.....
The Fabulous Afters!


Decorated


Another View


View from front door!


A closer view


A view from upstairs


Totally and Honestly In LOVE!

I am going to post about some of the special things on the shelves later.

10/17/2010

High 5'n Orange

I wanted to build these floating shelves for our dining room,
but,
there was one problem.

We couldn't get an entire sheet of plywood in either our car or SUV.

What am I to do?

Get Home Depot a.k.a "Orange" to cut it for me.
I as in me, with out Matt and on my lunch break, and in dress clothes went to Home Depot armed with my specific cut list and got everything that I needed for these floating shelves!

Go Orange!


This is "Charlie" ( I don't remember his real name) He was super nice and was very helpful.
I even high fived him when he was finished.

Super GEEKY moment, I know. He laughed.


Nevertheless, I did it on my own, and I was proud.

Now, onto the real task at hand.
Tackling the project!

I will post about the shelves, next Monday.
I am still working on decorating them.

They turned out F.A.B.U.L.O.U.S!

Stay tuned !

10/10/2010

DIY Menu Cards and Welcoming Baby Luke


One of my great friends, Lori, just had her first sweet baby named Luke. I wanted to make a welcome home sign but went with a home made banner instead.

Baby Luke!

Matt and I also made them Enchiladas with Sour Cream Sauce. YUMMY!
I will try to post the recipe soon.


I had been wanting to order some custom Menu Stickers from DoodleBugs for awhile, but then decided that I could probably make something similar, so I did.

All I did was type out my message and attach it to some colorful scrapbook paper.


I think its perfect for taking meals to people.

Happy Monday!

I am linking up HERE and HERE!

10/03/2010

DIY Pet Silhouette

I have been seeing these pet silhouettes for awile now and wanted to get one of Azul. 
I finally decided that I could probably DIY one.

So I did.

I took this pic of Azul, printed it out. Flipped it over and traced in onto some scrapbook paper.
Next, I pasted it down to some coordinating paper and framed it.


I think it turned out cute! What about you?

I am linking up to Between Naps on the Porch!

9/27/2010

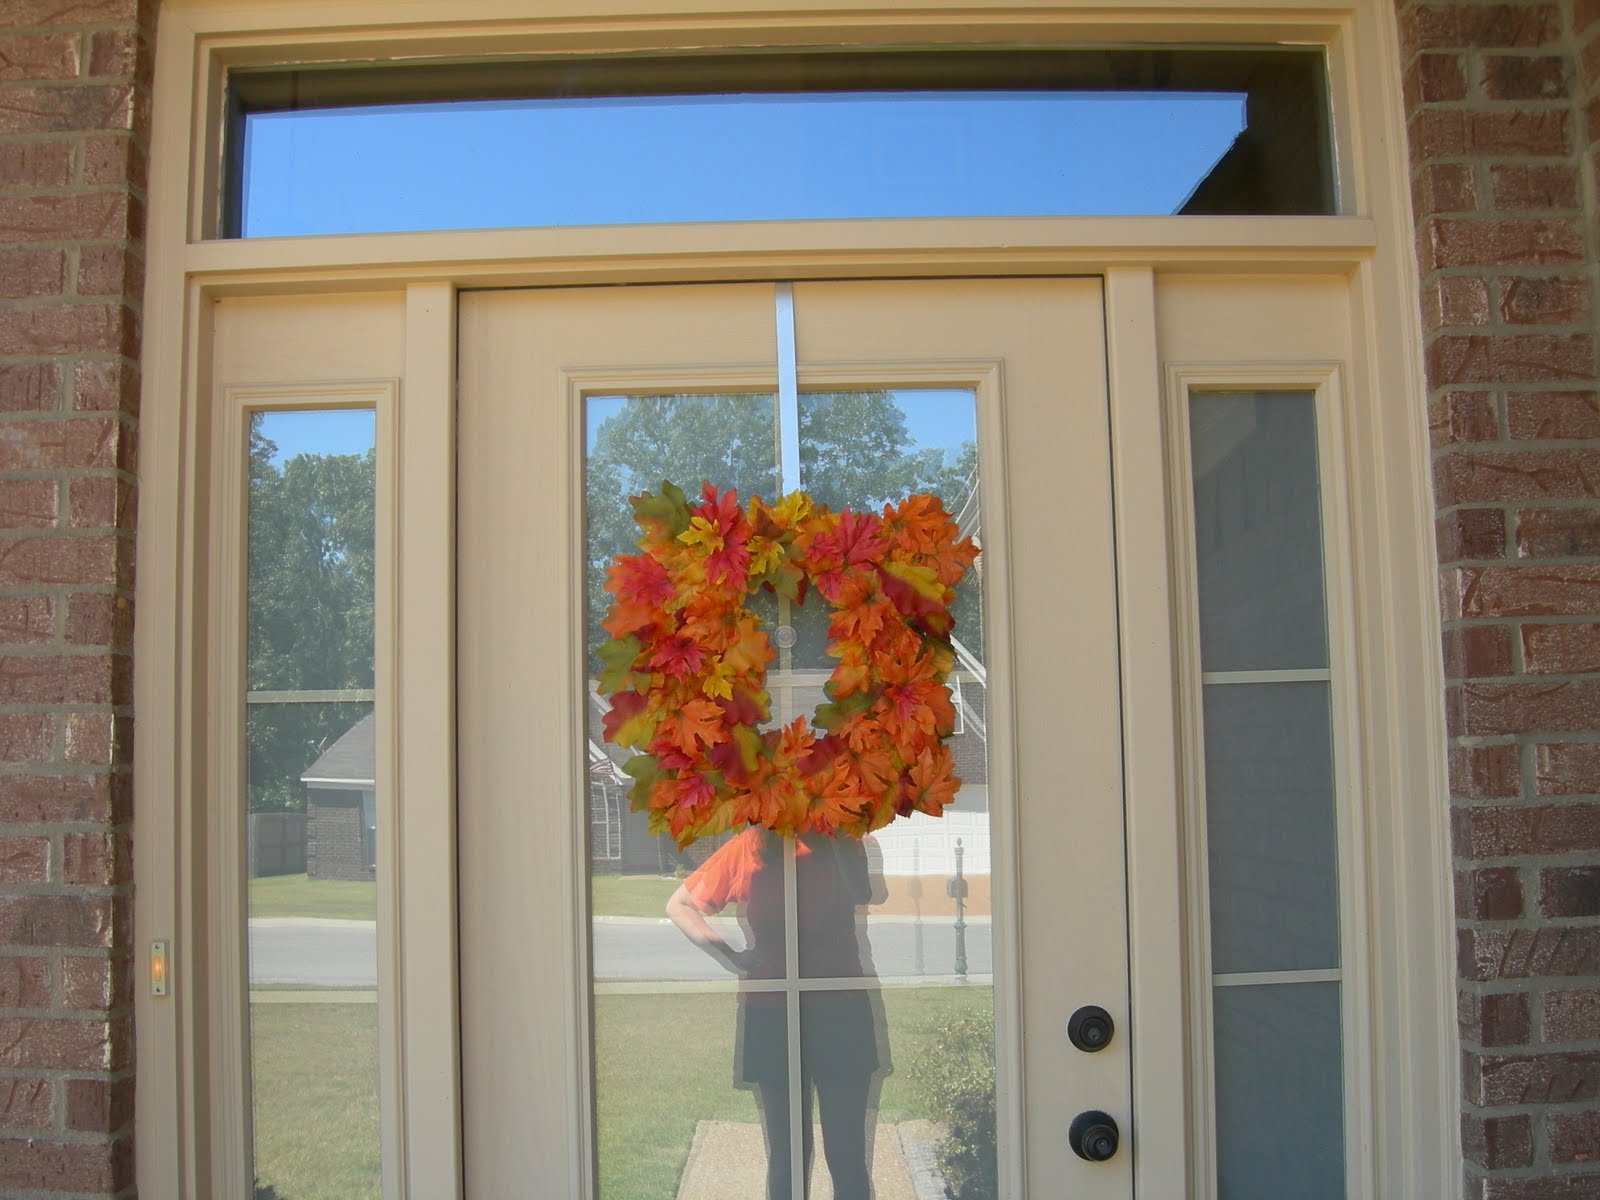
DIY $6 Fall Wreath

Once Again, I am copying one of Thrifty Decor Chicks projects!

She is just too good! =)

Go here for directions on how to make this cute square colorful fall wreath!

I got the fall garland at the Dollar Tree and cut all the leaves off.


I LOVE all of the bright fall leaves!


It turned out so stinkin cute!
I love the unusual shape since most wreaths are round.

A close up!


Our front porch with the wreath and some mums ($2.48 at Walmart!)

Link Within

Blog Widget by LinkWithin