Showing posts with label decor. Show all posts

11/14/2010

Some Impulse Buying!

I made a trip to the dollar store the other day to pick up some fall leaves for a wreath that I made and I came across these 3 cute small vases that had the perfect colors that go with our kitchen.

I had to have them.

I already had some flowers to put in them and I sat them on our kitchen windowsill.

Sometimes impulse buying is good....sometimes =)


Happy Monday!

11/06/2010

DIY Scrapbook Vases- Take 2

I made these for my Sister-in-Law's baby shower for her 3rd child and only girl.
You can check out my first round of these HERE.

Gather Materials:
Vases, Jewels, Flowers, Styrofoam, Scrapbook Paper

Cut the styrofoam to fit inside the vase, and add flowers


Add Jewels


Cut the scrapbook paper at a length that will sit just above the jewels and that will go to the top.


Here they are, too cute, huh?


I ended up adding some ribbon and a coordinating button just to girl-i-fy it some more!


I used these as the centerpiece on one of the tables for her shower.

What do you think?

10/06/2010

Antiques and Thrifting

 I love antique and thrift stores. Just so many treasures waiting to be found. I was looking around my home and noticed alot of Goodwill and Antique store treasures that I have snatched up.

Here are a few of my favorites.

Colorful Tree Framed Pic (Star City 2010): You can read about its makeover HERE.


Azul's Treat Jar: (Mountain View, AR 2010): I love the Amber Color.

Antique Wood Planters: (Eads Antiques): Read about them HERE.


Wooden Bamboo Vase: (Goodwill) Transformed HERE.

Small Green Vase: Goodwill


There are many more things in my home that I aqquired used, but I just love them!

9/27/2010

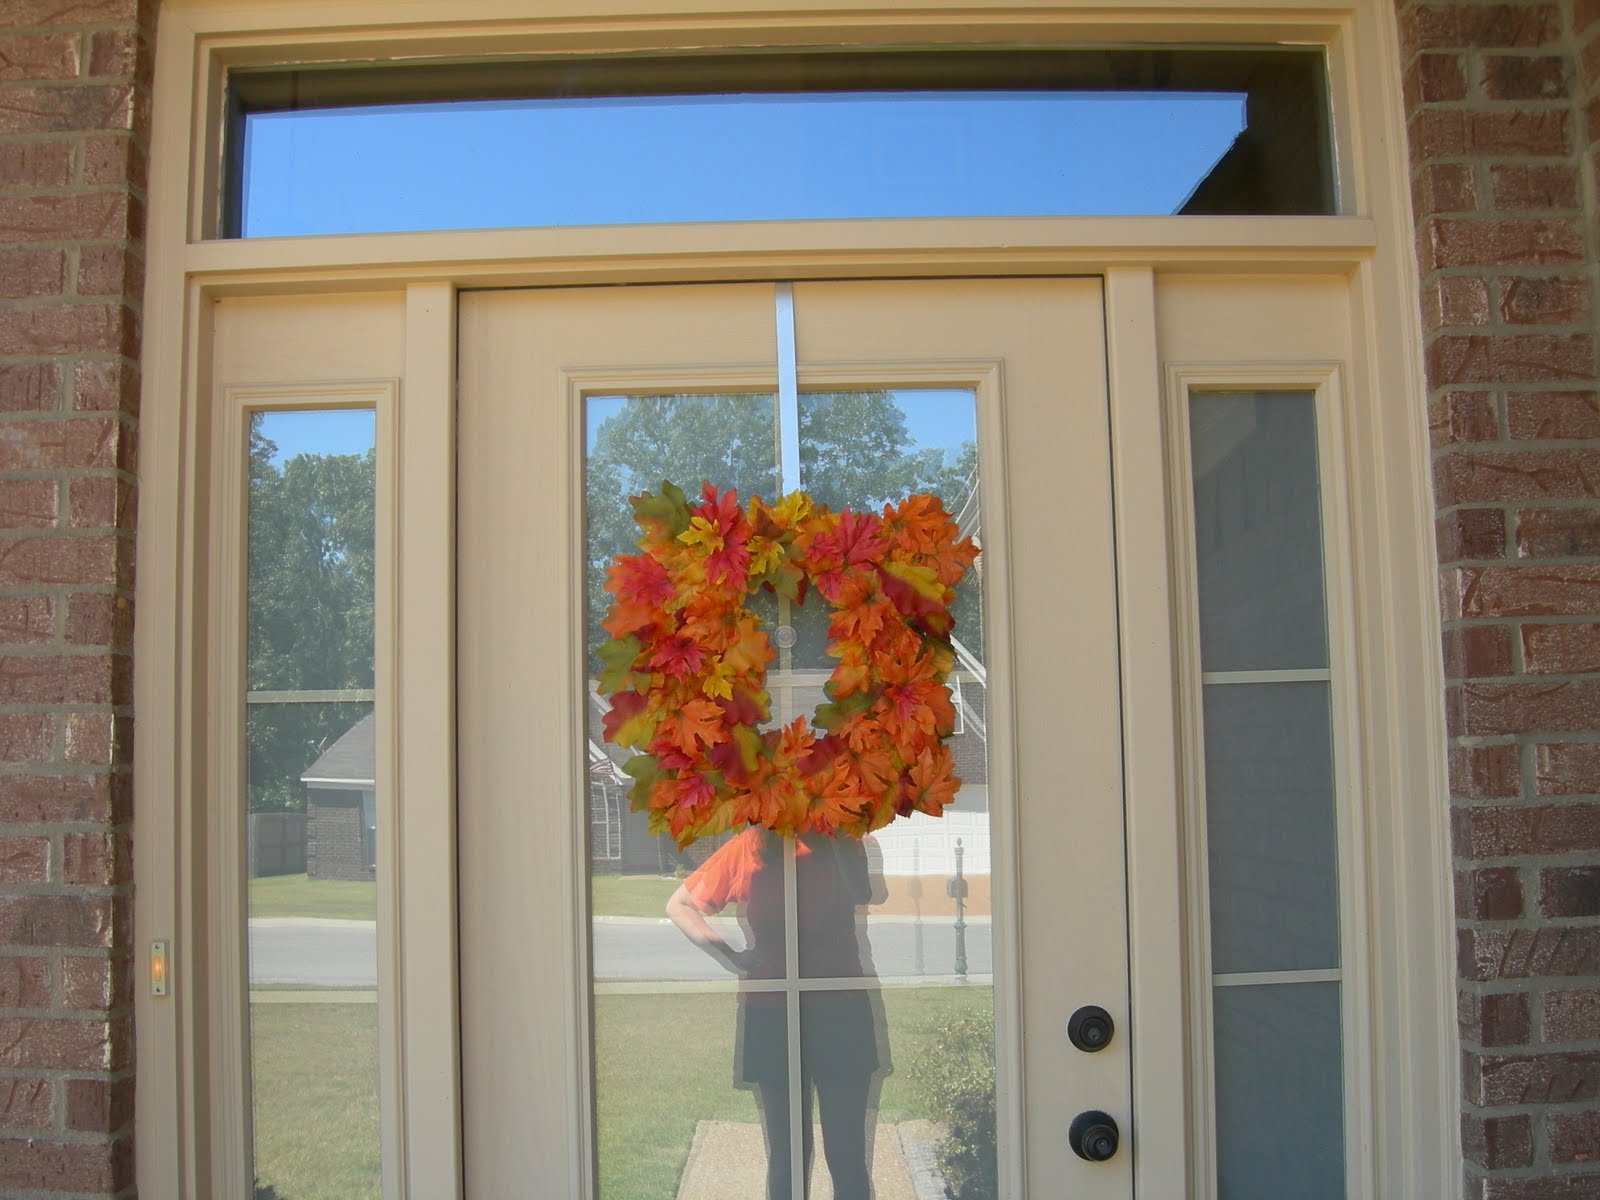
DIY $6 Fall Wreath

Once Again, I am copying one of Thrifty Decor Chicks projects!

She is just too good! =)

Go here for directions on how to make this cute square colorful fall wreath!

I got the fall garland at the Dollar Tree and cut all the leaves off.


I LOVE all of the bright fall leaves!


It turned out so stinkin cute!
I love the unusual shape since most wreaths are round.

A close up!


Our front porch with the wreath and some mums ($2.48 at Walmart!)

9/19/2010

DIY $2 Hurricanes


I saw this cheap and easy DIY project from Decor Chick and thought it had alot of potential. Since I was on a blogging break when I did these, I didnt take step by step pics, but its so easy to do.

Supplies:

Vase (Dollar Store)
Candlestick (Dollar Store)
E6000 Adhesive or Gorilla Epoxy.

Instructions:

Basically, apply adhesive to the candle stick top and place centered on the bottom of vase. Allow to dry for about an 1 hour or 2. If your patient, allow 24 hours before handling.

Fill with whatever you like.
I chose to fill mine with gems and apple cinnamon candles and tie some jute around it.


This was my kind of DIY, how about you?

7/19/2010

Framing the Date

Have you seen this site? They customize in framing special dates. How Sweet....and pricey.

I knew that I wanted to try this on my own! Our anniversary is 08/27/2005!

I already had a frame from our housewarming party that I never used, and I went to google and found some images that I liked and pasted them to some scrapbook paper that I already had.


I used spray adhesive to attach the srapbook paper to the frames card board.


I love the way it turned out and for FREE!!!

What dates do you want to frame?

7/13/2010

DIY Jute Vases


I started out with a vase (free from some flowers from Matt), tacky clear glue, faux hydrangeas, and some jute!

Apply glue about 1 inch around at a time.
Start at the bottom, and wrap, wrap, wrap!


I found it easier to turn the vase upside down and spin the vase while I kept the jute nice and tight.


Voila!!!


That is some super cute and cheap DIY!!

I am busy making some of these for a new dining table centerpiece!!!

7/07/2010

Splash of Color-Part 6-Master Bath-Beadboard and Moulding

If you have been following my Master Bath Decorating, then you remember the

Well, today is about hinding the eyesore of the front of our jacuzzi tub
and adding moulding to the large vanity mirror.

First up...The Tub

I love our huge jacuzzi tub, even though I rarely use the jets,
but,
It had this UGLY panel in the front.


My brilliant hubby added some $10 Beadboard to make it flush with the other.
We also painted it to match the trim.
I LOVE IT!

Nice touch if you ask me!

Next, we added some moulding to the large vanity mirror, just like our hall bath.
Matt bought me a miter box for Christmas, and I have yet to use it. Maybe next project!!


I love the way everything is coming together.

Next post is the Accessories!


6/28/2010

Splash of Color-Part 6-Master Bath-Fabric Window Covering

Part 2
I am back with another update about our Master Bath!

This time, I have a tutorial about making your own Window Covering for above a jacuzzi tub.
Or anywhere for that matter =)

We started out by selecting a few fabric swatches that best went with our paint choice Behr's Cozumel. It took a couple of days to pick one, but I highly suggest doing this.
Even with paint colors, that way you can see it in different lights.

We ended up going with the one to the right of our paint color (3rd one down). It just seemed right!

The first one on the left had too much of the same color and the
furthest one on the right looked to flowery for me.

The first step was to measure for the window.

I snagged some FREE wood and moulding from the side of the road.....in my own neighborhood =)

SIDE NOTE: I was walking Azul and saw all of this perfectly good wood.....So I picked up these 8ft or so boards and was walking down my street along with walking Azul. I looked crazy....
and Matt thought I was.

We wanted it to be a snug fit, so we wouldnt have to screw it into the wall and so that I would still have a little bit of a window ledge.

Here is Hubby's Handy Work:


Next, I ironed the fabric....yes...me....I ironed the fabric!


Then, lay the frame onto the fabric with about a 1 1/2 in border.


Start with the corners and fold the corners like a package and staple. Continue to staple all around while pulling tightly and making it snug.


Step Back and Admire!!


What do you think??

It still lets in the light while adding style as well!

Link Within

Blog Widget by LinkWithin