Showing posts with label Nursery. Show all posts

6/13/2011

Levi's Room Reveal and Budget Breakdown

Levi's Room has been finished for awhile, but I wanted to wait and post pictures until it had more of a baby feel with all kinds of toys, more books, and baby gear added.

Here is the view as you walk in


To the left as you walk in.


The mural and DIY bookcase which has now been filled with books =)


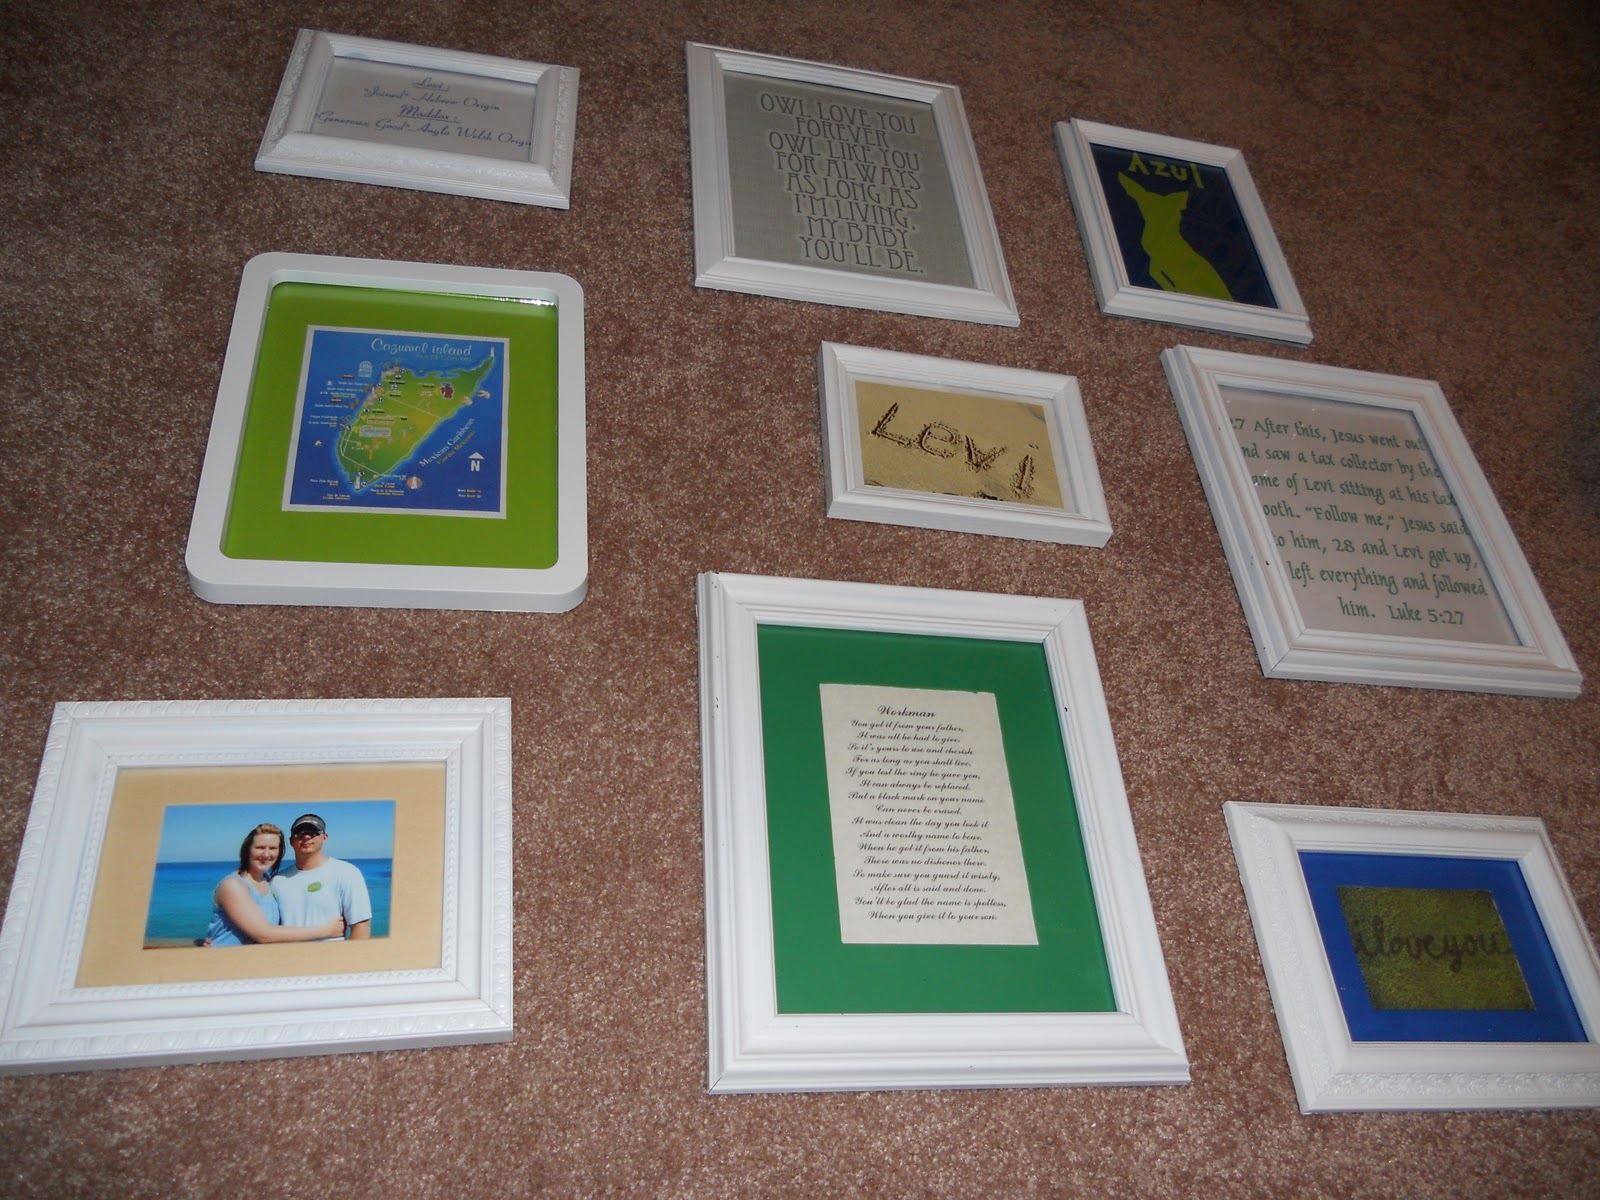
DIY Storage Chest, Picture Wall, Baby Cds, toys, etc


DIY owl curtains, bumbo, rock and play sleeper, Glider/Ottoman


The Budget Breakdown!
I had originally wanted to stay under $600, and we didnt do bad.
Here is how it all broke down

Crib $139.00
Mattress $73.00
Crib Sheet $10.91
DIY Crib Skirt/Pillow/Blanket Fabric $30.25
Mural $115.00 (***Gotta have a Splurge***)
Glider/Ottoman $50.00
(Bought from In-Laws)
DIY Bookshelf $20.00
 DIY Storage Chest $70.00
Storage Cubes $42.00
DIY Curtains $31.00
Curtain Rings/Rod $10.00 (40% off at Hobby Lobby)
Heat N Bond/Velcro $8.00
Stain/Sandpaper/Brushes $25.00
Screws $5.00
Paint for Bookshelf $10.91
Spray Paint for Picture Frames $3.27 (On Sale at Hobby Lobby)
Letters and Scrapbook Paper $8.02 (On Sale at Hobby Lobby)
Ribbon $1.09
Light Dimmer $5.00

Grand Total $657.44
And thats including the crib, mattress, and two pieces of furniture that Matt and I built!!! You could spend that alone on the crib. YAY!

4/13/2011

Nursery Progress: LEVI in letters

We had originally planned to buy a monogram for over Levi's crib, but since that wall was adjacent to the wall with the mural on it, I figured it would be to much vinyl.

So, I bought these letters for 30% off at Hobby Lobby for $1.40 each + 5 sheets of scrapbook paper.


I had also originally planned to cover them with the scrapbook paper, but thought painting them would be much more simple. I did end up using the paper in this project and this one.


I wanted to attach the letters to a piece of 1x2 so it would be fixed on the wall without the chance of it falling on his head

I stained a piece of 1x2


And, hot glued the letters onto the 1x2


Here it is above Levi's crib


Just a few more touches to go and we will be finished!!!


4/06/2011

Nursery Progress: Picture Wall

I wanted to make a picture wall for Levi's room with some special pictures and quotes that were special to Matt and I.

I started out with all kinds of frames, different finishes and sizes. Mostly, I took them from around my house. So the total for this project was $3.27 (The cost of Spray Paint)

I started with an arrangement but it didnt end up this way.


Here are the frames and a couple of mats that needed to be spray painted.


After one coat


Drying


Then I started to rearrange everthing, and I finally chose this one.


Since all the frames were dufferent, they all hung up differently. We started with the middle pic, then arranged as we went.


Here are what the pics are:
Photobucket


Another View


Full wall view.
I like how we have tons of space left on that wall to add more photos, childrens art, and other momentos.


UPDATE:
I noticed that the photos on the bottom left were too far away from the others. I corrected it. =)


3/16/2011

Nursery Progress: The Mural

The Mural is finished. YAY!

We got started Saturday (5th) and worked about 2 hours on it, mainly to get an idea of what we were doing. We also worked on it for about 1 hour Sunday and we finally finished it this past Saturday.

Here is what it looked like once we unpackaged it.
Yep! I started to sweat a little =)

We had to cut out each branch, 50+ leaves, birds and owls.


Measuring and Scoping out where to put the trees


Temporary placement of trees


One tired or bored puppy


The first Tree going up


The first completed tree (without leaves or details)


3 trees: Yes! The middle tree is supposed to lean. =)


Close up view


All of the trees completed.
We still had to add leaves, birds and owls


The Mural: Completed


Close Up


An Owl


Another View.


And when we were all finished....I certainly felt like this!


And to sum up our experience:
Time Consuming but pretty easy.
 I am glad that we didnt end up having to paint and still have a pretty awesome focal wall.

What do you think?

This was our one "splurge" for the room ($115). You gotta have at least one, right???

Anyhow, even with the splurge we are still on budget, well, maybe a little over. =)


Up Next: Bookcase


Smiley Face Pic found HERE.


3/13/2011

Nursery Progress: Blanket and Pillow

My MIL made Levi the most adorable blanket and pillow for his room. I bought the fabric off of etsy and some grey fleece for the coordinating side for the blanket and she did the rest.

Here are the pics


I am so excited about how everything is turning out!


I will post the mural Thursday!
Matt and I finally have it finished and it makes the whole room!

3/09/2011

Nursery Progress: 6 Cube Storage Chest

We are Finished with the 6 cube storage chest! YAY!
I was our easiest build yet (in my opinion)

You can find the plans HERE ( This was our 4th build from Ana's Site)

We started out with building the box

Next, we added the legs


Then we framed it out to give it more of a polished look.


Fill any holes


Next Up: Sand (The Sucky Part)


Prep for Staining


2 Coats of Stain Later, and.......


We used Minwax + Polyurethane in Classic Black Satin


Pretty Cool Huh?

We built ours for $137.00 (Including the Storage cubes, which were $7 a piece)
Thats more than 60 % savings! the Lumber ran us about $70, and we had to get some sand paper, brushes and stain, so that cost us a bit more than expected, but still worth the $137 that we paid!

The Land of Nod version HERE is $249.00 not including shipping OR the storage cubes which are $7.95 a piece!


Here it is in Levi's Nursery!

The Cubes


With Azul in the pics!


I wanted to make some type of labeling system for the cubes, so I used some scrapbook paper that I didn't end up using for another project.

I made 6 circles and 6 smaller circles then coordinated them with each other.


Next, used a hole punch and added a even smaller white circle for the labeling part.


I used velcro circle to attach the white circles to the blue/green ones, so that I could switch out the labeled item without having to make new circles


I have only made one that was labeled, because frankly I am not sure what I will be using the cubes for right now.


I attached them with some white ribbon coordinating the big circles against the cubes.


Close Up


So here is the finished 6 cube storage chest with labels all ready for Mr. Levi
 ( although Matt and I are far from ready =) )

I am working on a picture wall for above the chest.


I think its all coming together so nice!

Next: Pillow and Blanket made by my MIL!

Link Within

Blog Widget by LinkWithin